Before you buy anything: what to measure
Measure the usable width, shelf depth, and height of the space you want to improve. Check the narrowest opening as well as the inside: a bin that fits a shelf may not fit through a sliding-door opening. Note rod height, the drop of your longest clothes, and any door tracks or hinges. Write these measurements down and test a box you own in the space before shopping.
1. Sort one section at a time
Start with a single shelf or one category, such as T-shirts. Separate clothes you wear from items that need repair, belong elsewhere, or can leave your home. Put the keep pile back before tackling the next section. This keeps a small room usable while you work.
- Keep a bag nearby for donations and set a realistic drop-off date.
- Give uncertain items a small, clearly labeled holding box and a review date.
- Do not buy storage to hide clothes you already know you do not want.
2. Give everyday clothes the easiest reach
Put frequently worn clothes between roughly waist and eye level, adjusting to your own reach. Reserve higher shelves for light, less-used items. Group clothes by how you get dressed: work shirts together, workout clothes together, and sleepwear in one place. The goal is a system you can maintain while putting laundry away.
3. Reuse small boxes as shelf dividers
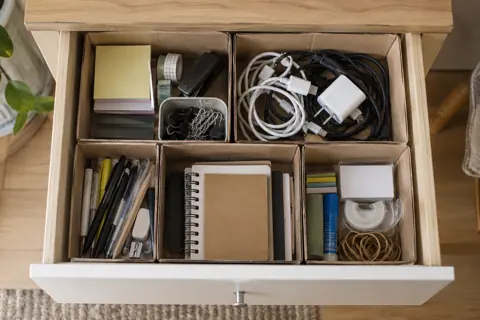
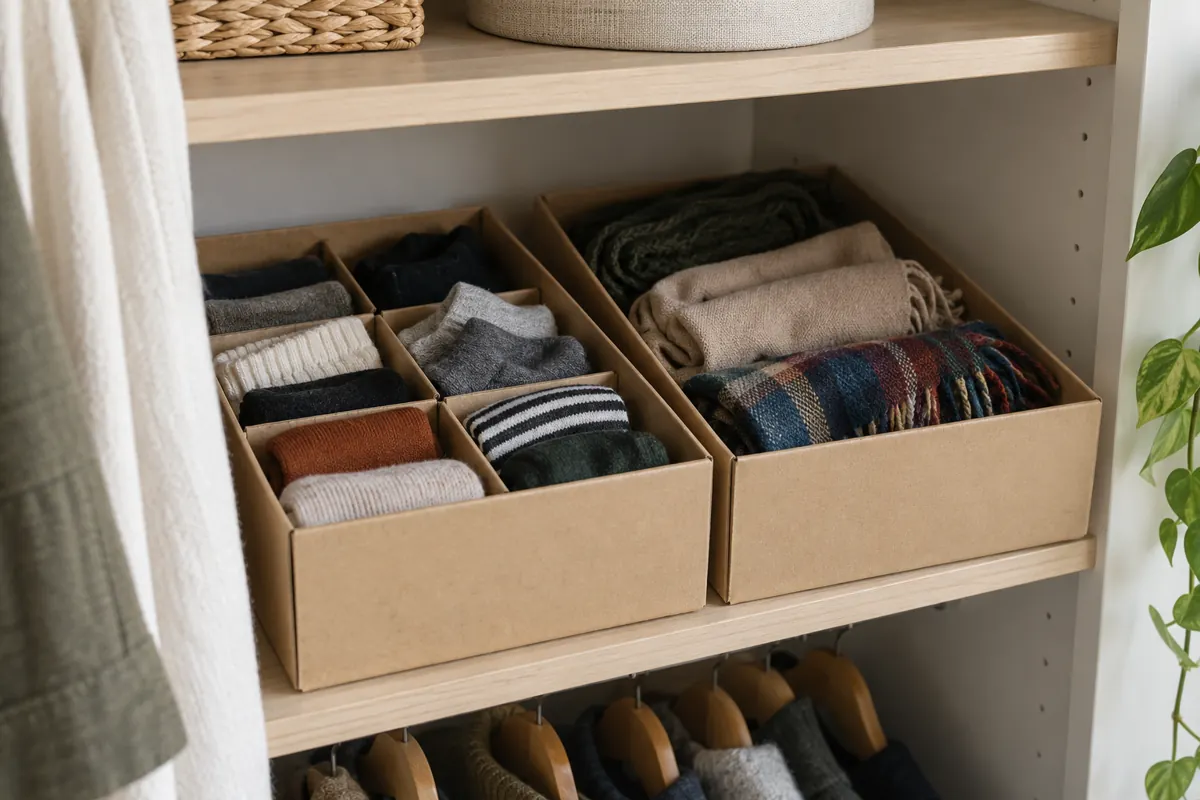
Clean, sturdy shoeboxes can hold socks, scarves, or accessories. Remove loose lids and label the front. Choose a box shallow enough to see into or pull out without disturbing everything around it. Cardboard works best in a dry closet; avoid it where moisture or pests are a problem.
4. Fold clothes upright in drawers
Fold T-shirts into rectangles that stand side by side, with the folded edge visible from above. This lets you pick one without lifting a whole stack. Do not pack the drawer so tightly that you have to force it shut. Soft sweaters are often easier to fold than hang; follow their care instructions and leave room around them.
5. Use the floor beneath short hanging clothes
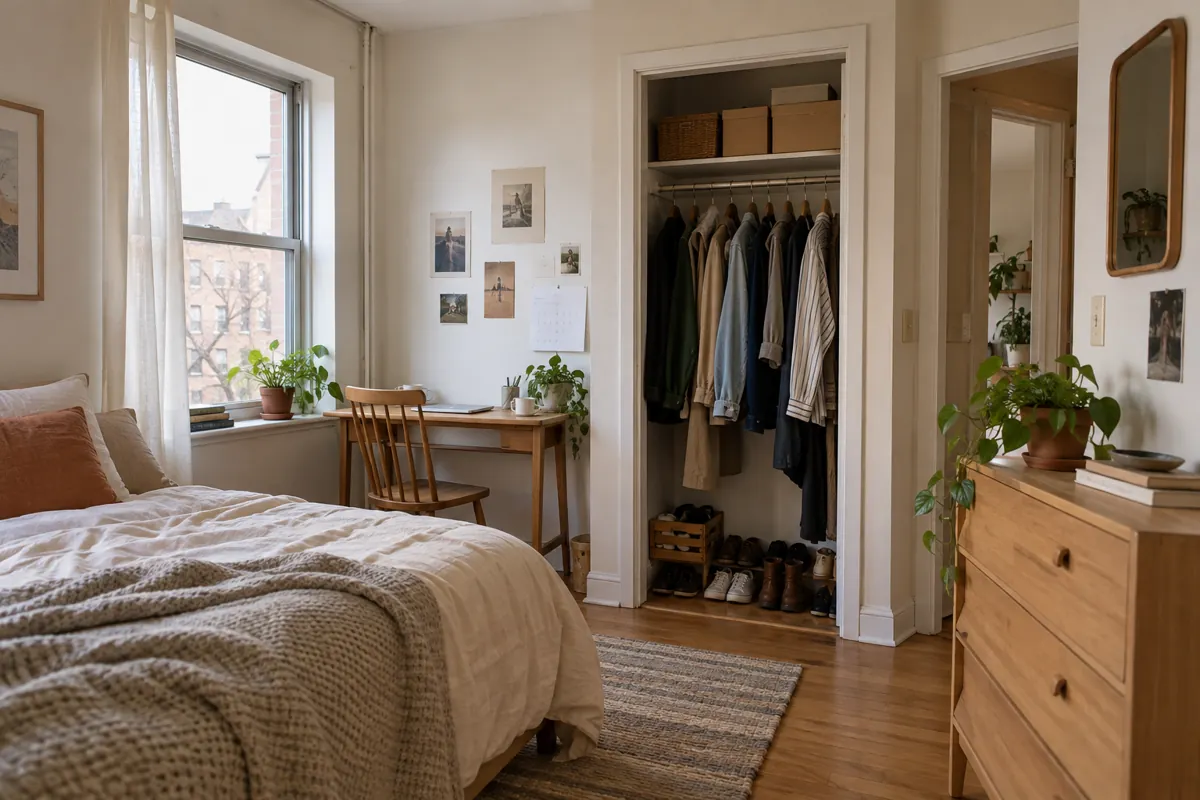
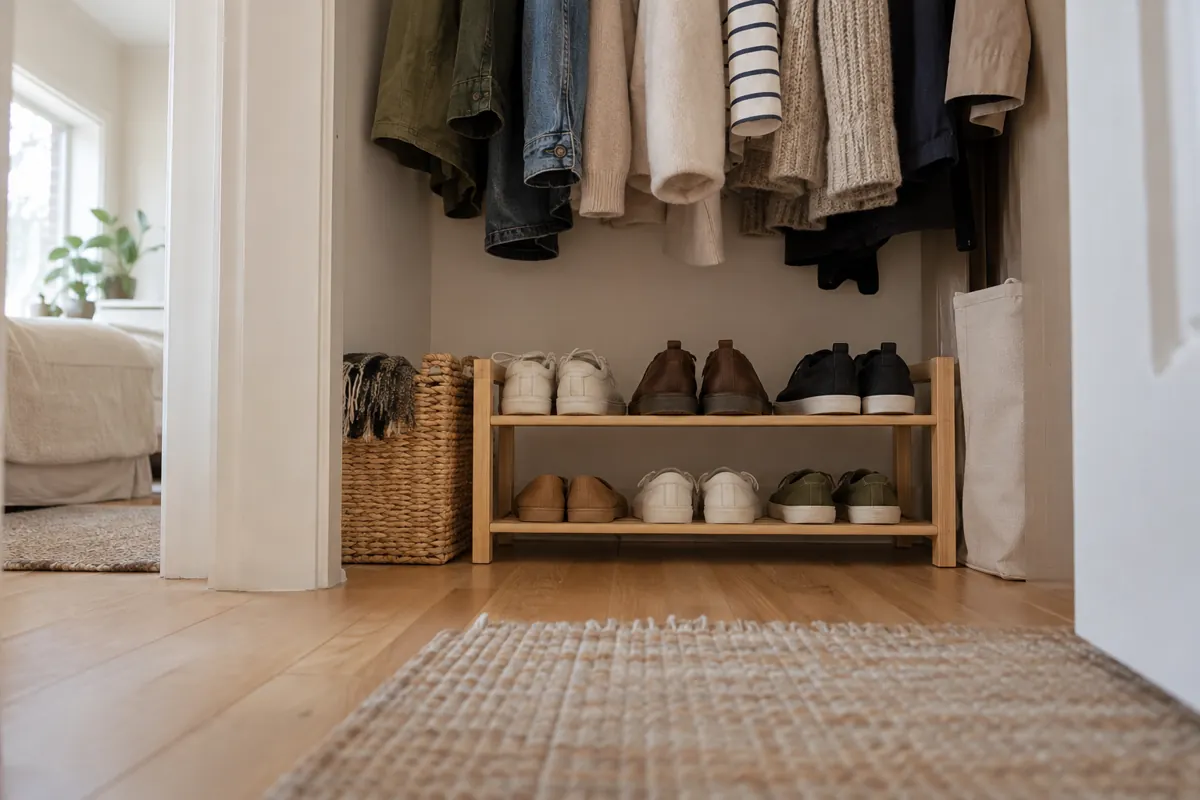
Measure from the floor to the bottom of your shortest hanging section. A low shoe rack or a couple of existing bins can use this gap without touching the clothes. Keep shoes in one layer where possible. Avoid tall stacks that need to be dismantled every morning, and leave the door track clear.
6. Check the back of the door
An over-the-door organizer may work for light accessories if the door still closes freely. Measure the top gap and check the hook thickness and stated load limit first. Do not force a tight door shut or use hooks that scrape its finish. If there is no clearance, keep accessories in a small shelf bin instead.
7. Move occasional items to a second location
If you have dry under-bed space, move off-season clothes into a shallow, covered container. Measure the opening, including the bed frame, and make sure the container can slide out. Wash and fully dry clothes before packing. Label by contents rather than just season, and leave your most-used items in the closet.
What to avoid
Matching containers can look tidy but waste space when they do not fit your shelves. Buy only after you know the measurements and contents. Avoid overloading rods, piling heavy bins overhead, and adding shelves that conflict with your rental agreement. Any freestanding furniture must follow its manufacturer's stability and anchoring instructions.
Make a very narrow closet easier to reach
Use one row of items from front to back where possible. Deep double rows tend to hide the things behind them. Put small accessories in a shallow pull-out box, and leave one hand-width of working space beside the items you reach for most. If the door opening is narrow, use two small boxes rather than one wide bin. Move occasional items elsewhere instead of forcing another organizer into the same gap.
Keep closet changes rental-friendly
Use the existing rod and shelves within their load limits. Avoid adding a second hanging rod unless the original support and the new rod are intended for that load. Ask before changing shelf brackets or drilling. A tension fitting or adhesive hook is not automatically suitable for clothing weight. Choose a low container on an existing surface when installation rules or wall condition are uncertain.
When an organizer is worth buying
Consider a purchase only when you can name the remaining problem: shoes have no stable place, small accessories mix together, or a measured shelf gap is unusable. Try a reused container for a week first. If that fails because of size, access, or durability, compare options against those specific needs. An organizer earns its space when it makes putting things away easier, not just when it matches the room.
A practical closet checklist
Before calling the closet finished, check the daily routine.
- The door closes freely and tracks are clear.
- Everyday clothes are easy to see and reach.
- Boxes pull out without lifting a stack first.
- Heavy items stay low; shelves and rods are not overloaded.
- One small area remains free for putting laundry away.
- Anything to donate has a planned next step.
A simple reset to keep it working
When putting clean laundry away, return each category to its zone and remove empty packaging or stray items. If one area overflows repeatedly, reduce what lives there or give it more room. Start with one of these changes today; a closet you can maintain is more useful than a perfect-looking arrangement.